Cyanotype Curiosity


Step One: Gathering + Setting Up
ingredients included in your cyanotype art magic kit:
Cyanotype Paper
Transparency paper or Acetate
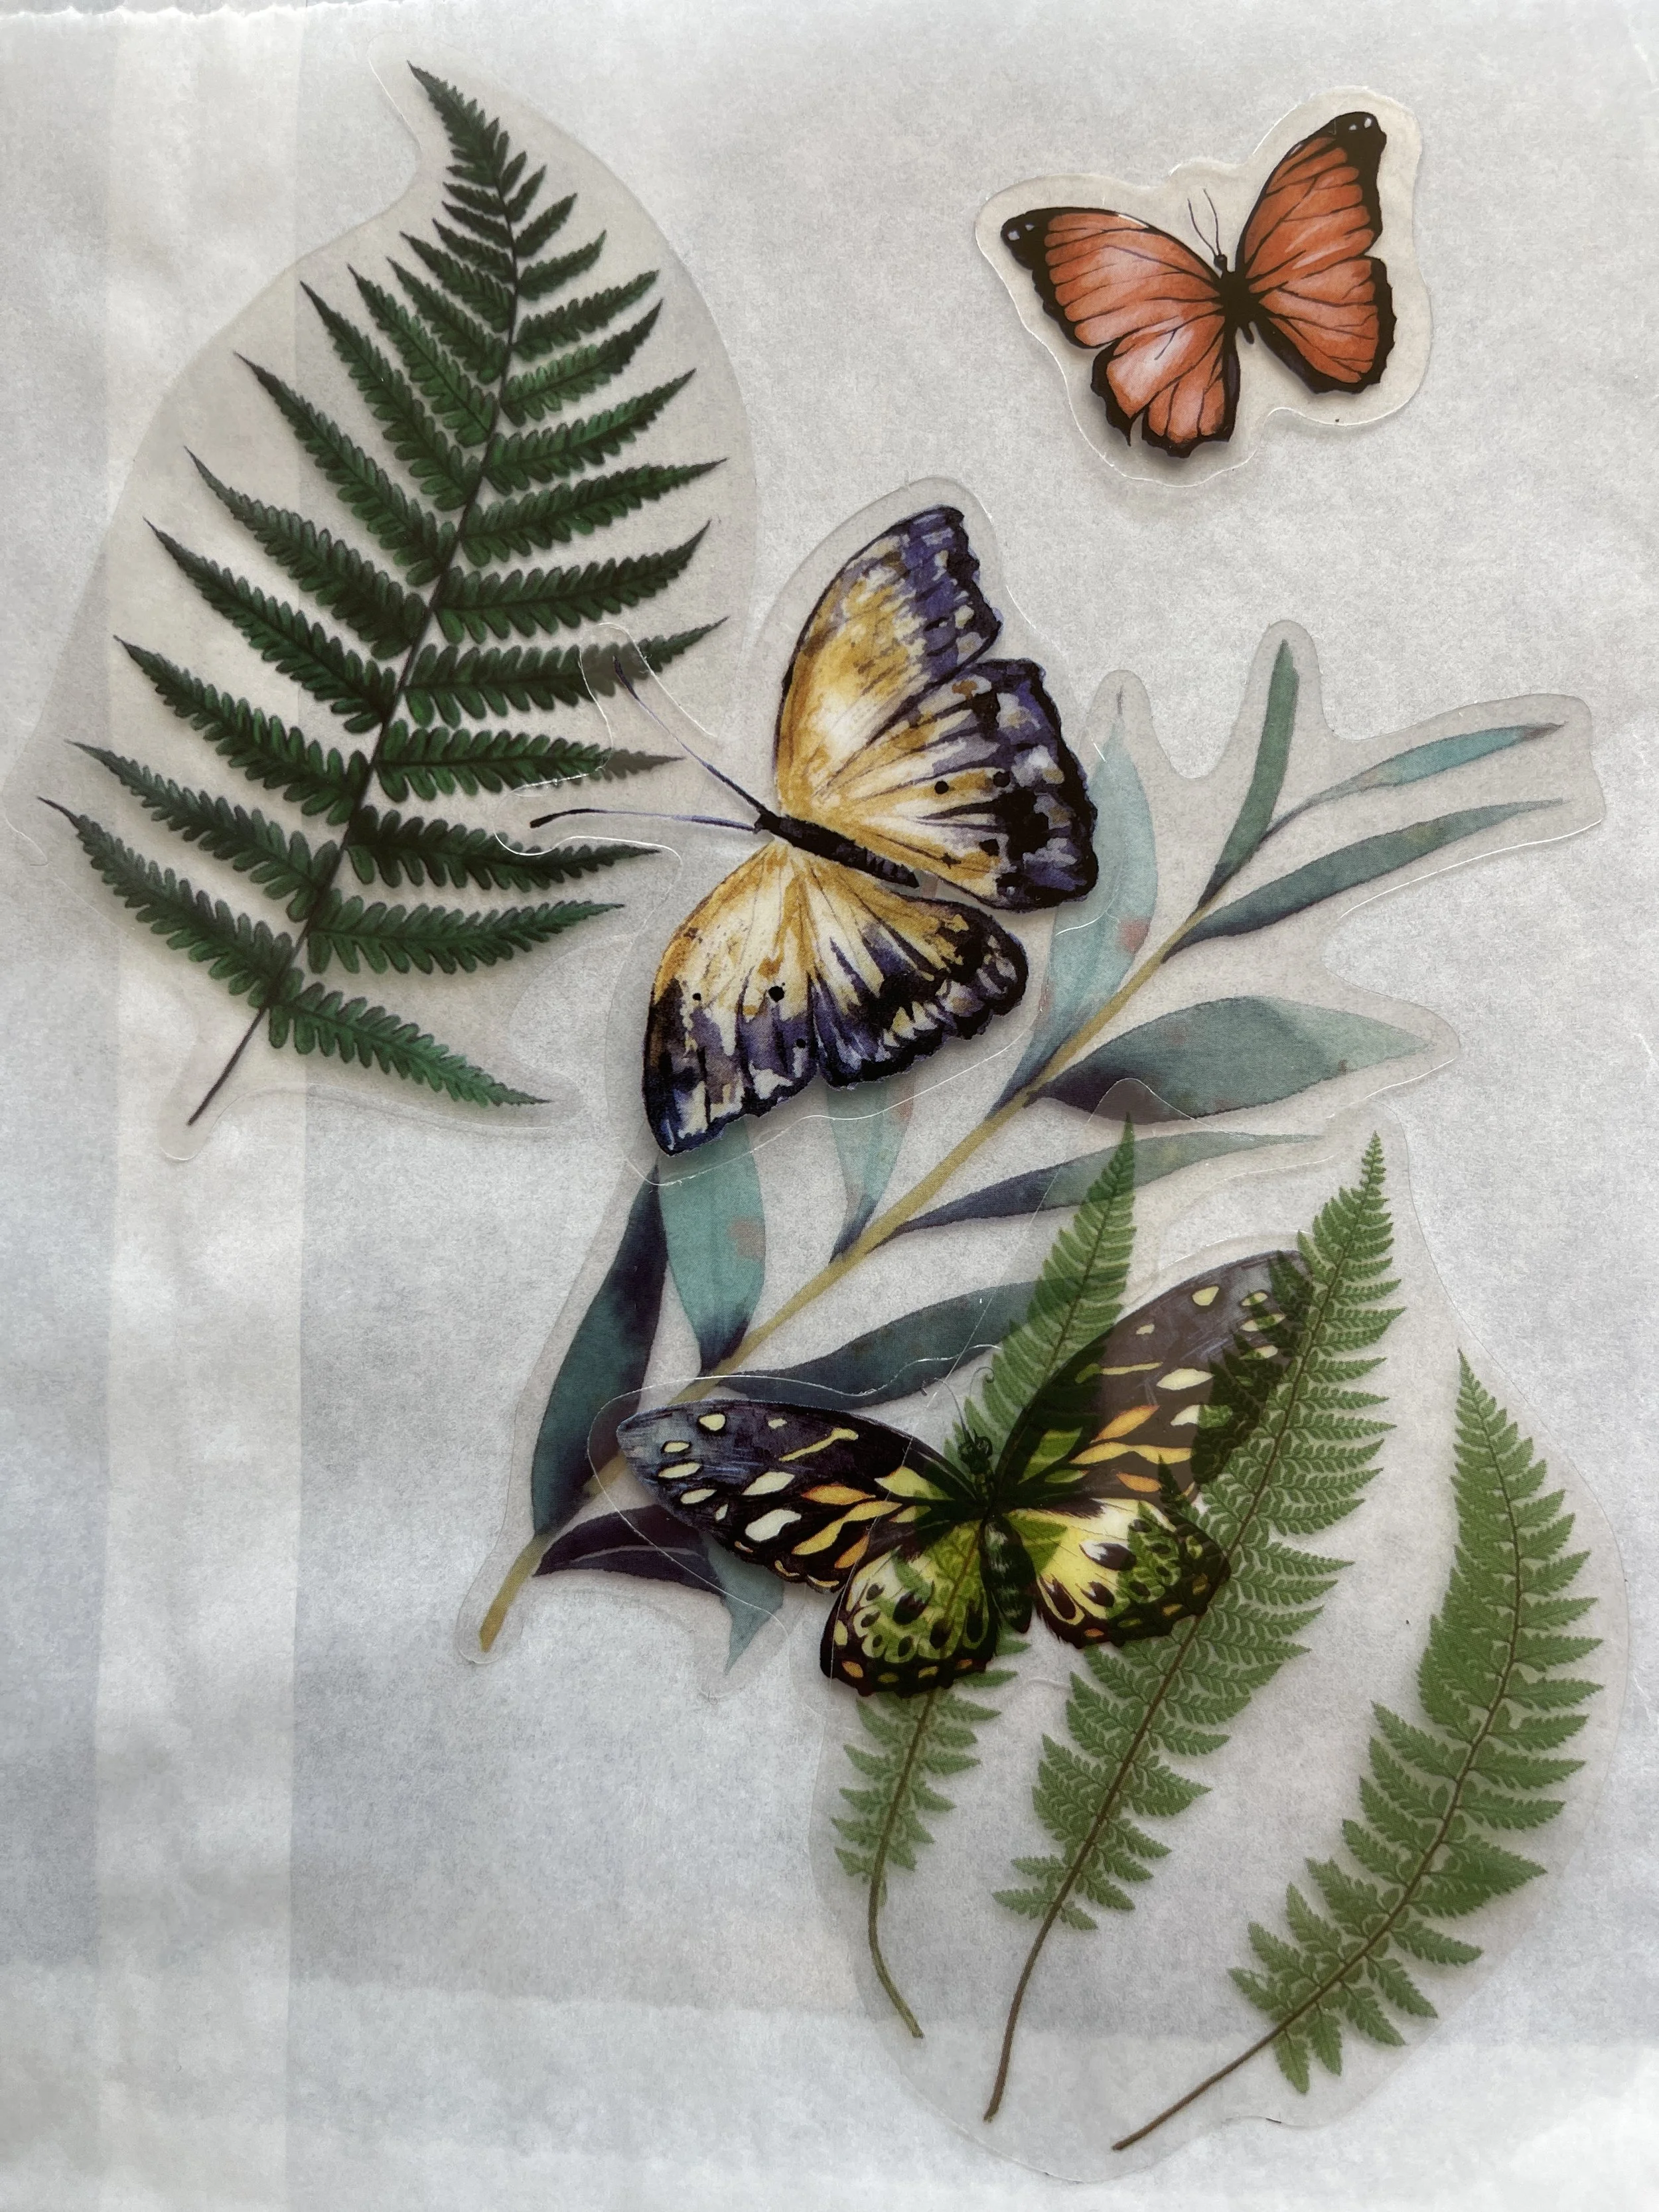
Transparent Stickers
Glow Stars
Sign Letters
Vintage Cocktail Napkin
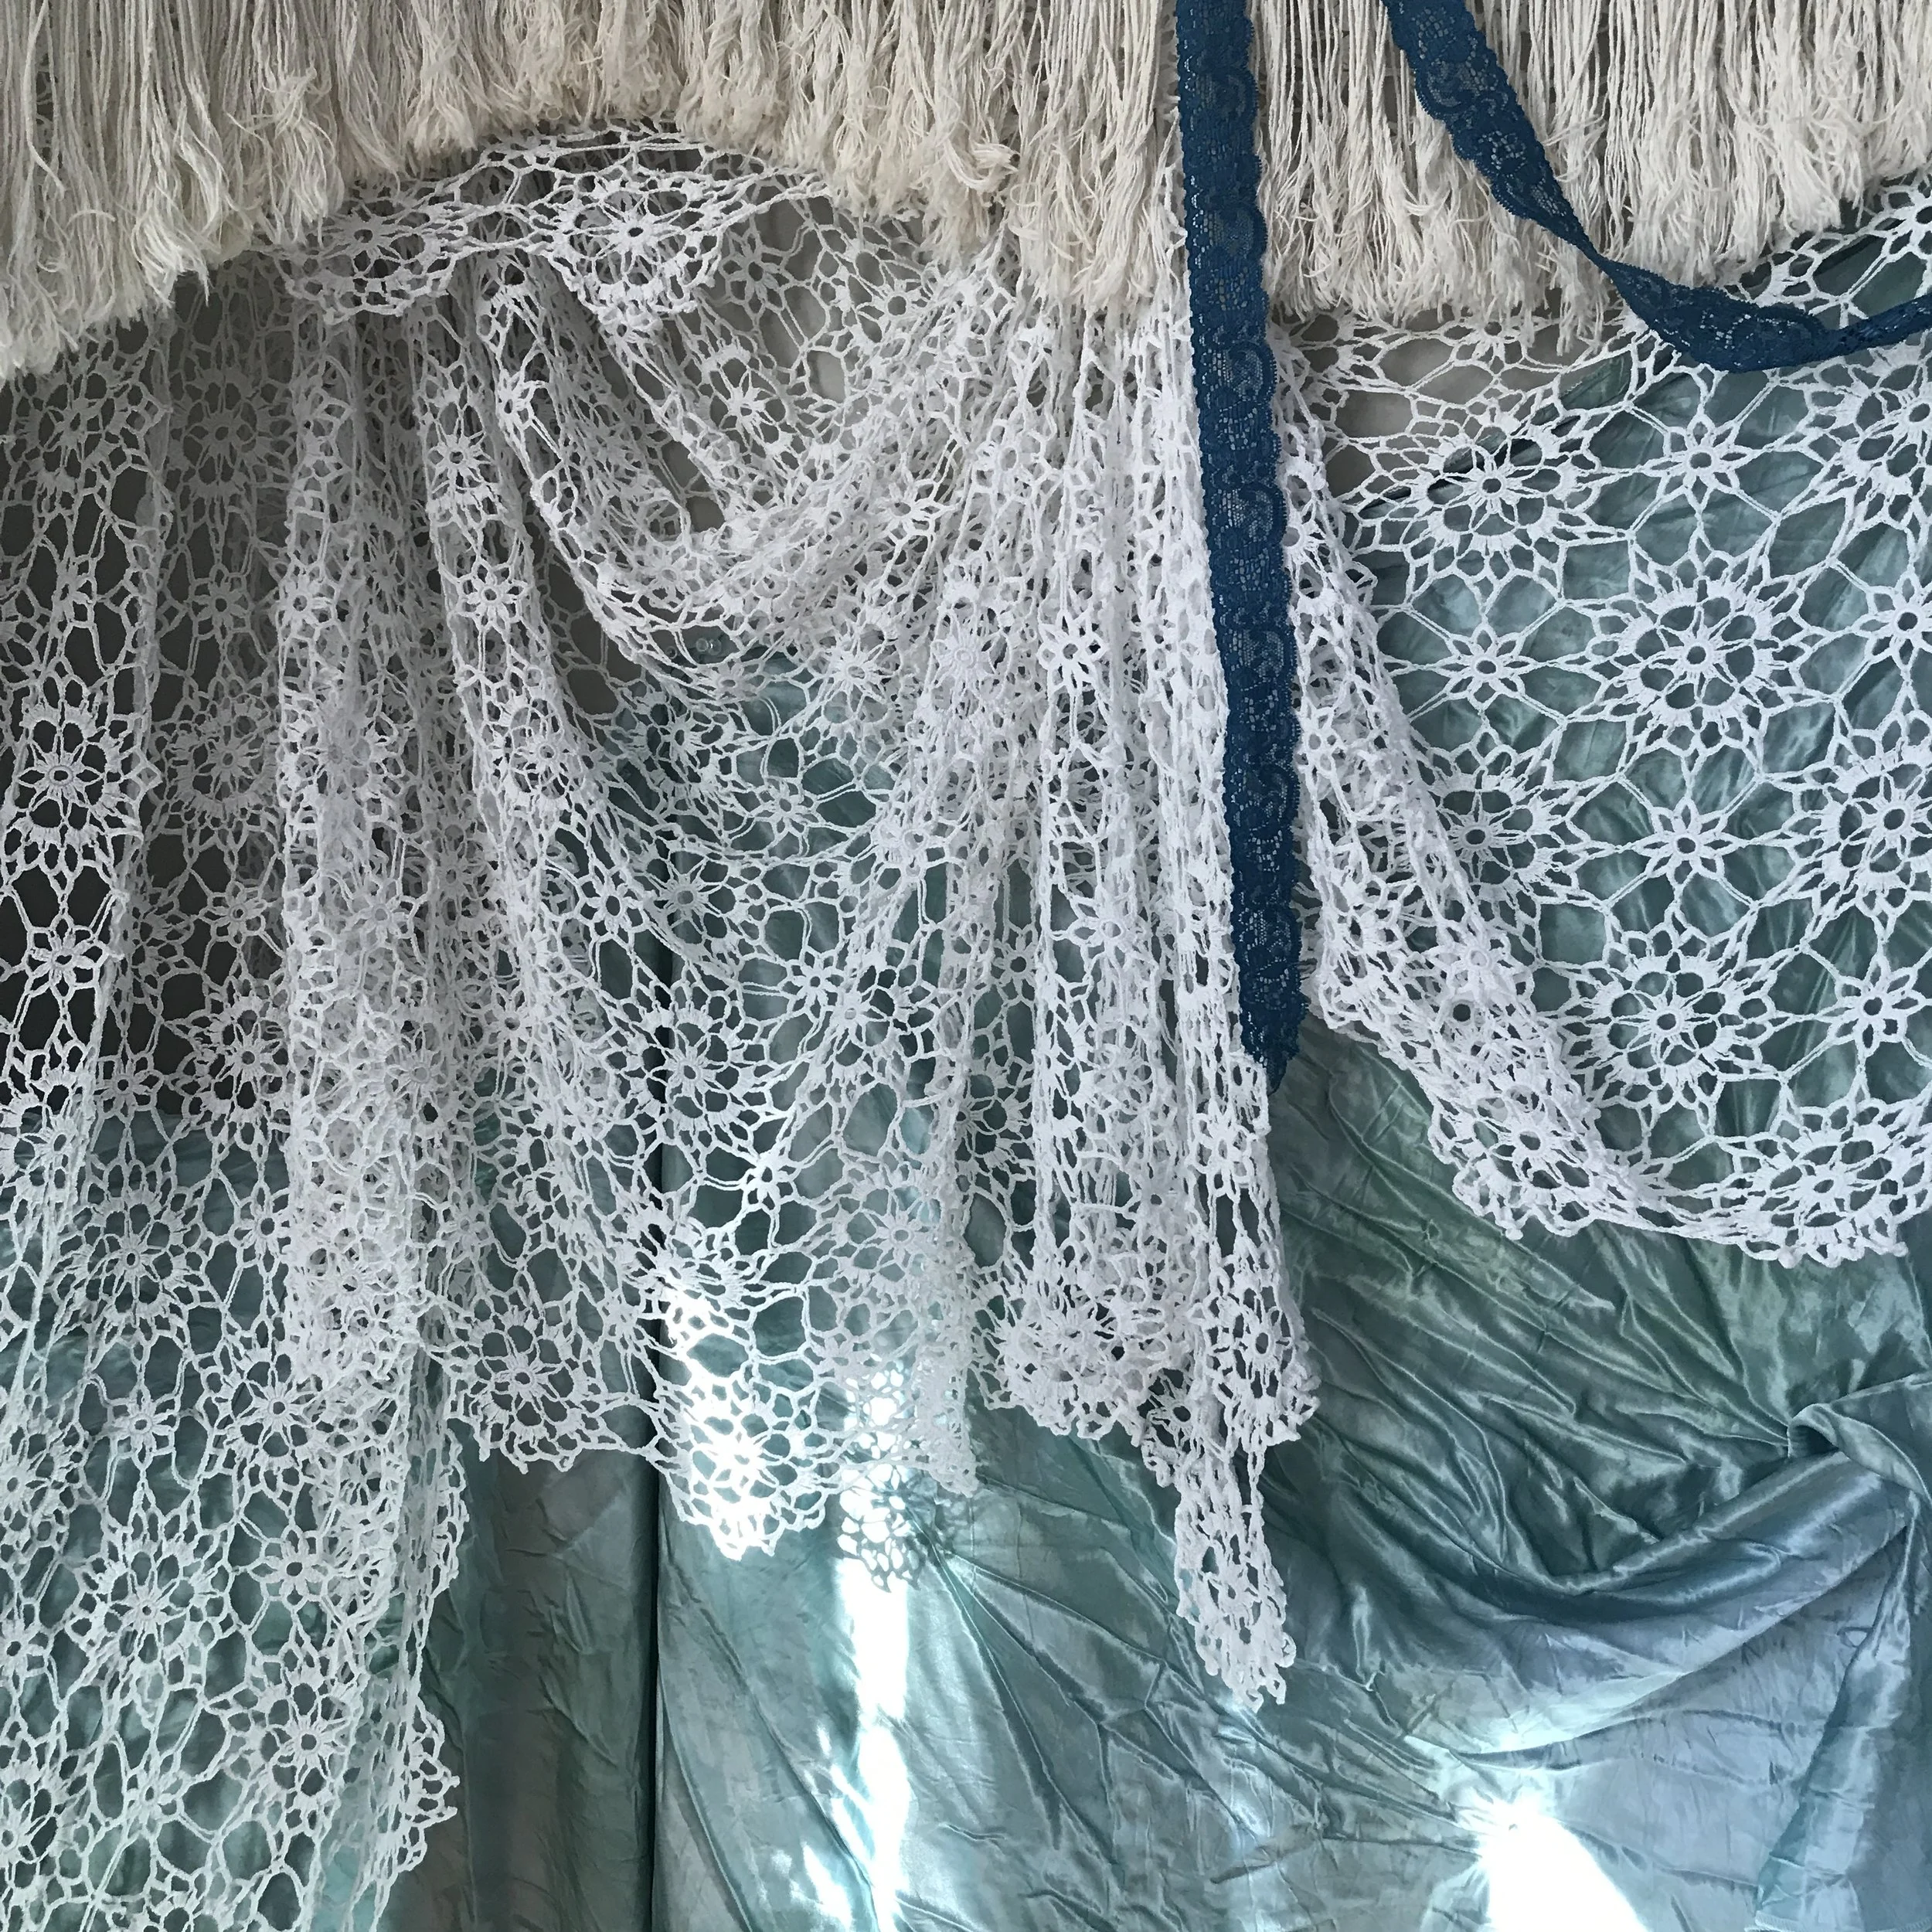
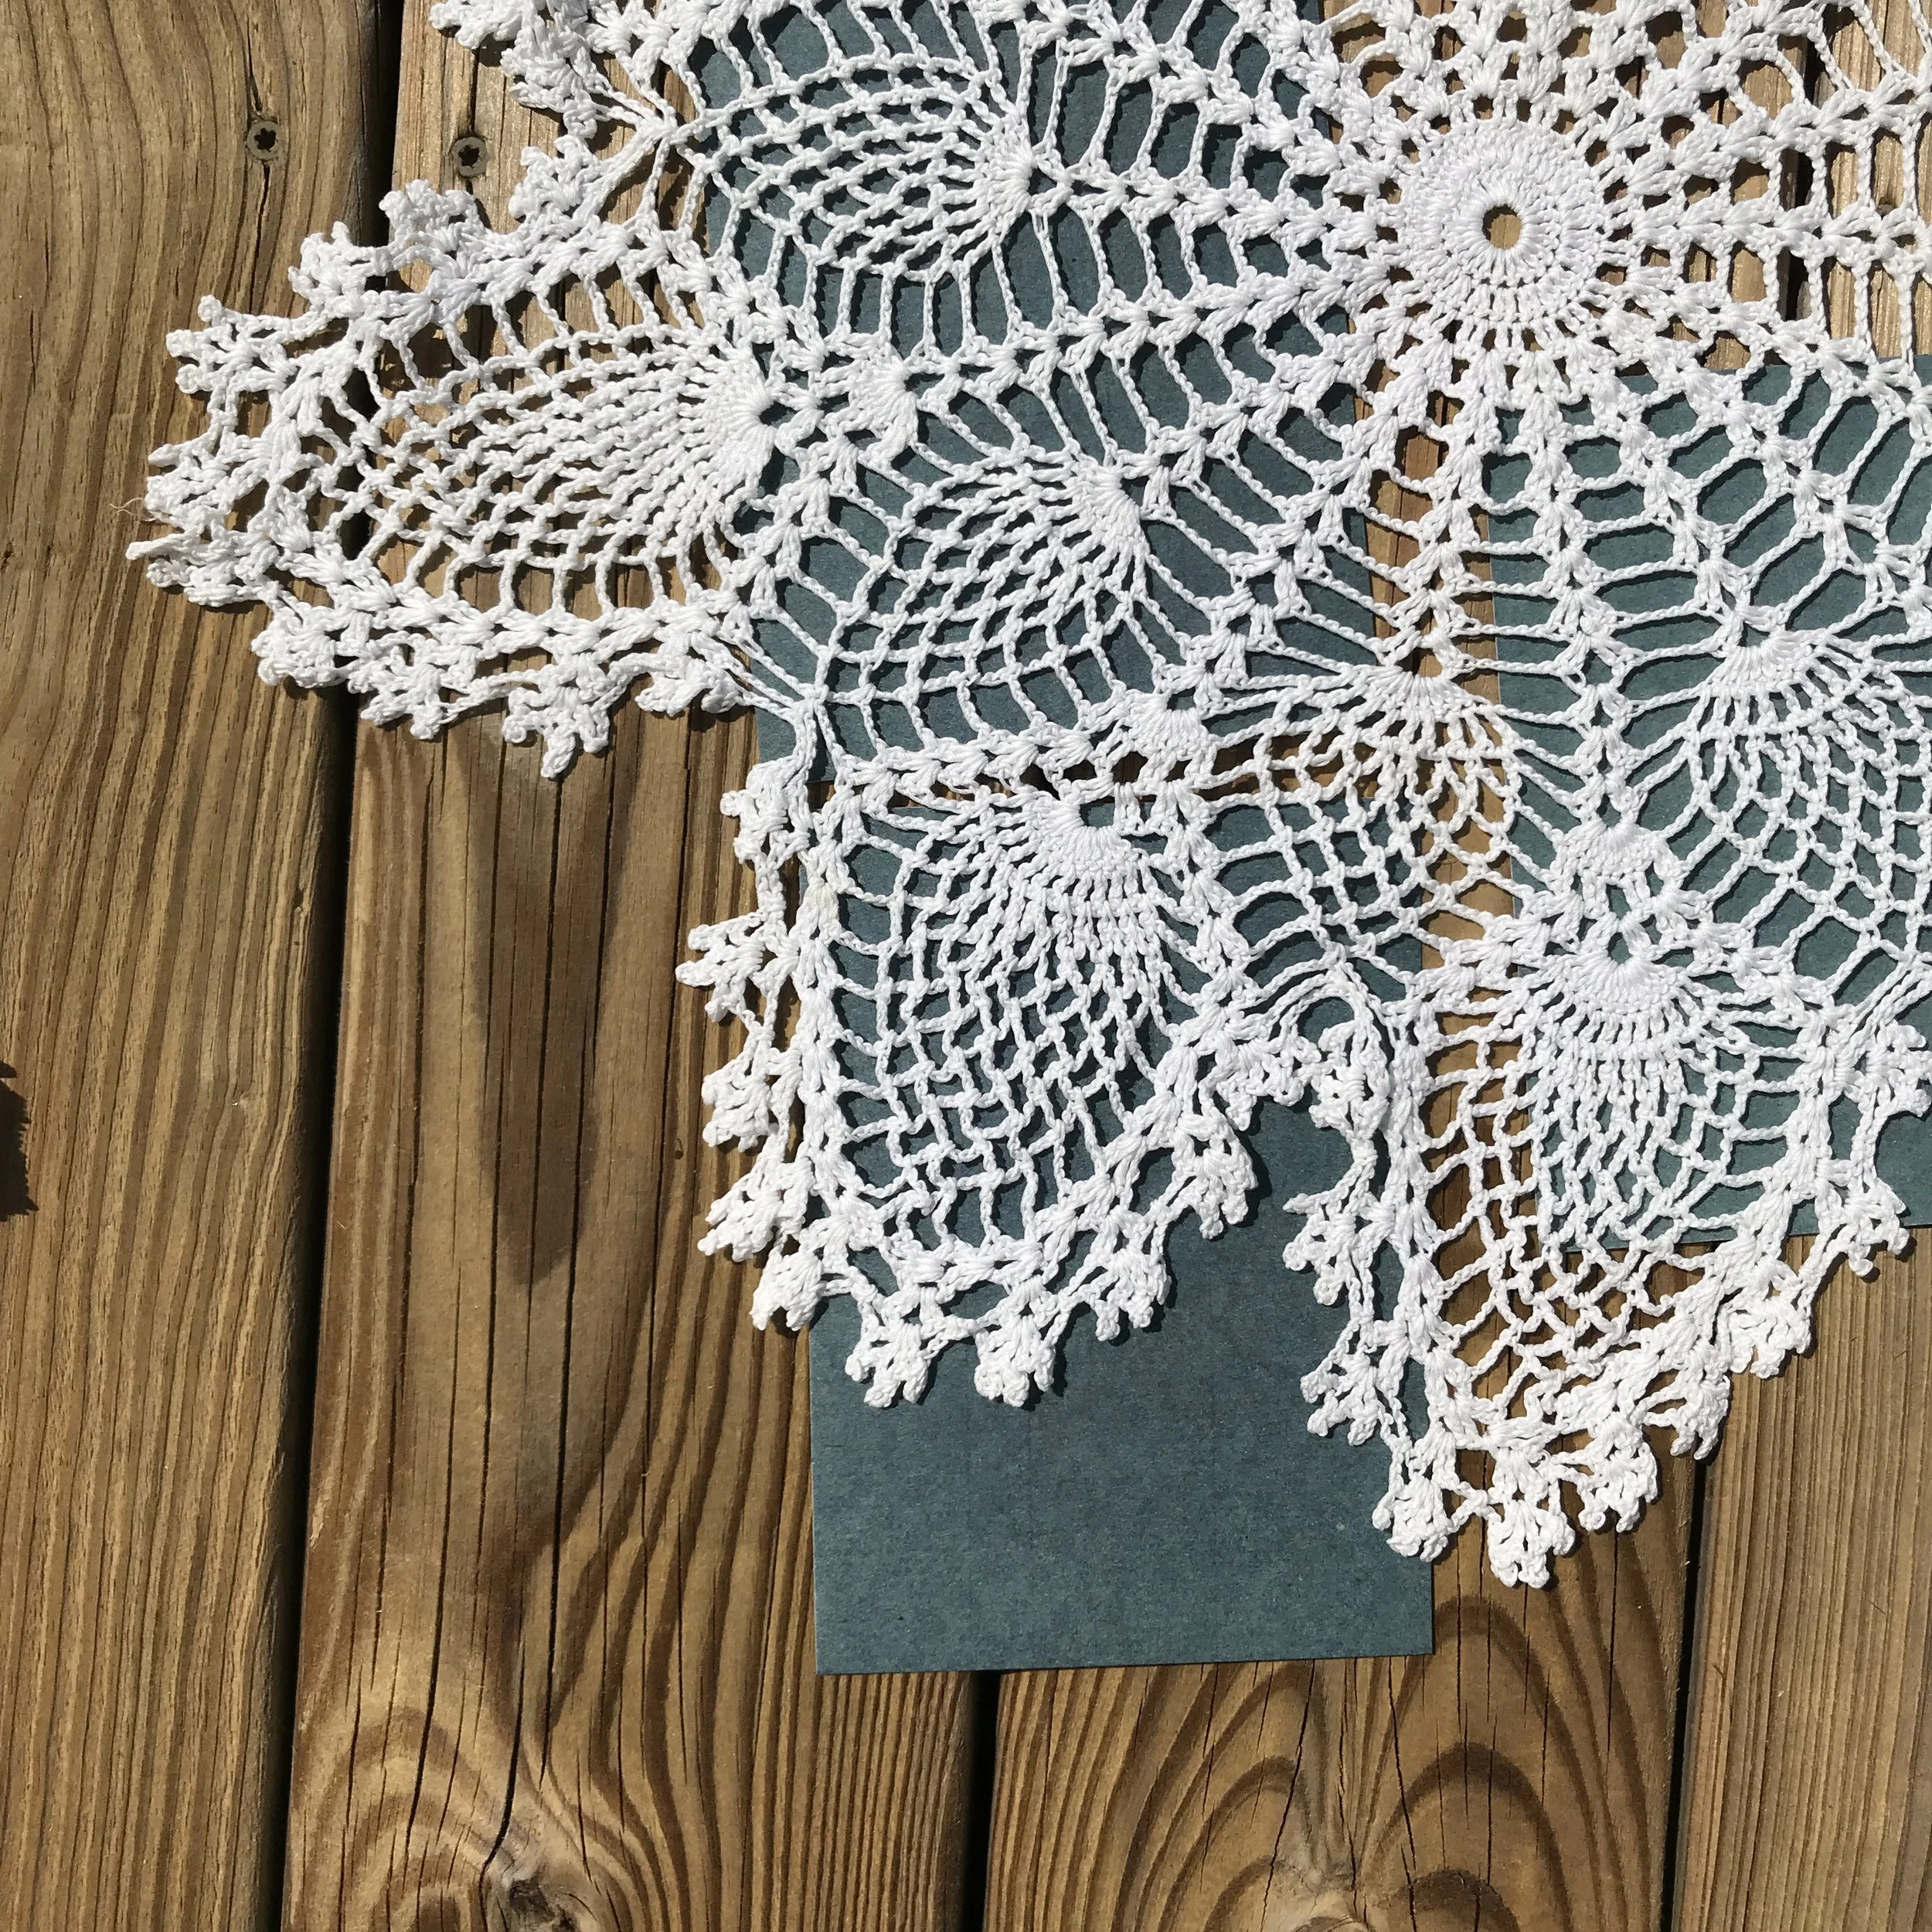
Lace Remnant
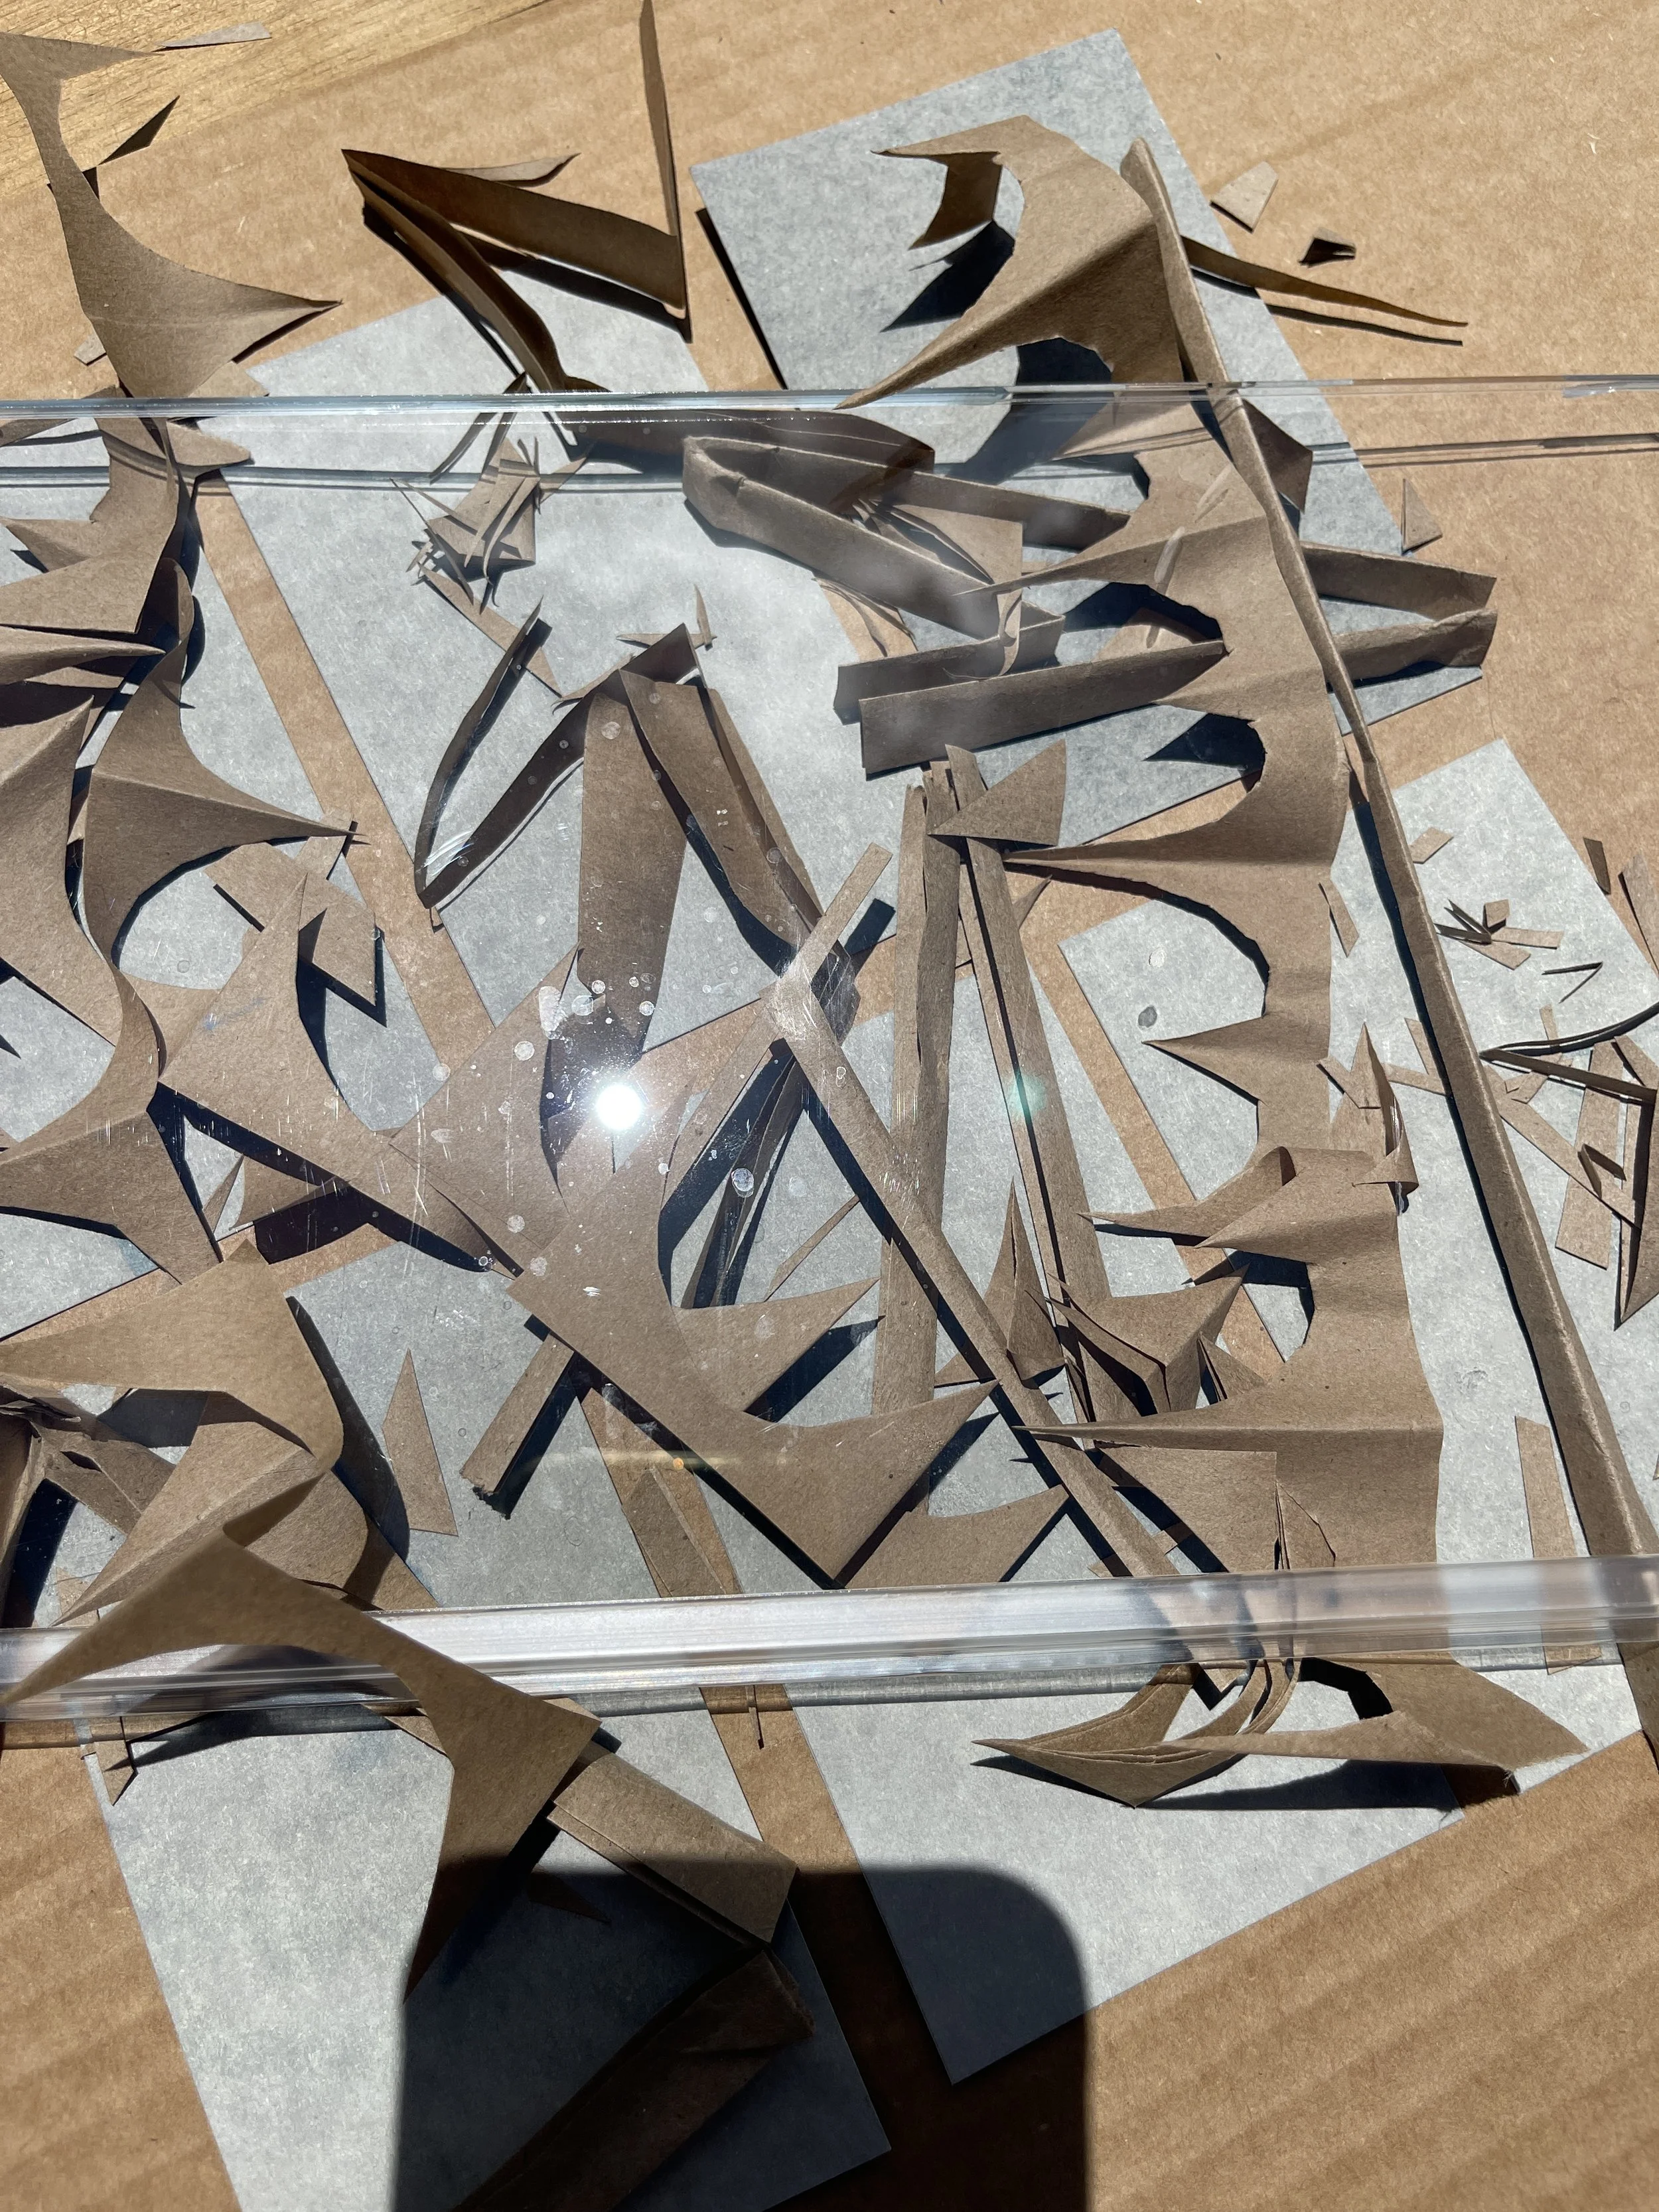
Hand-cut Paper Stencil (I used a paper bag)
alternative ingredients:
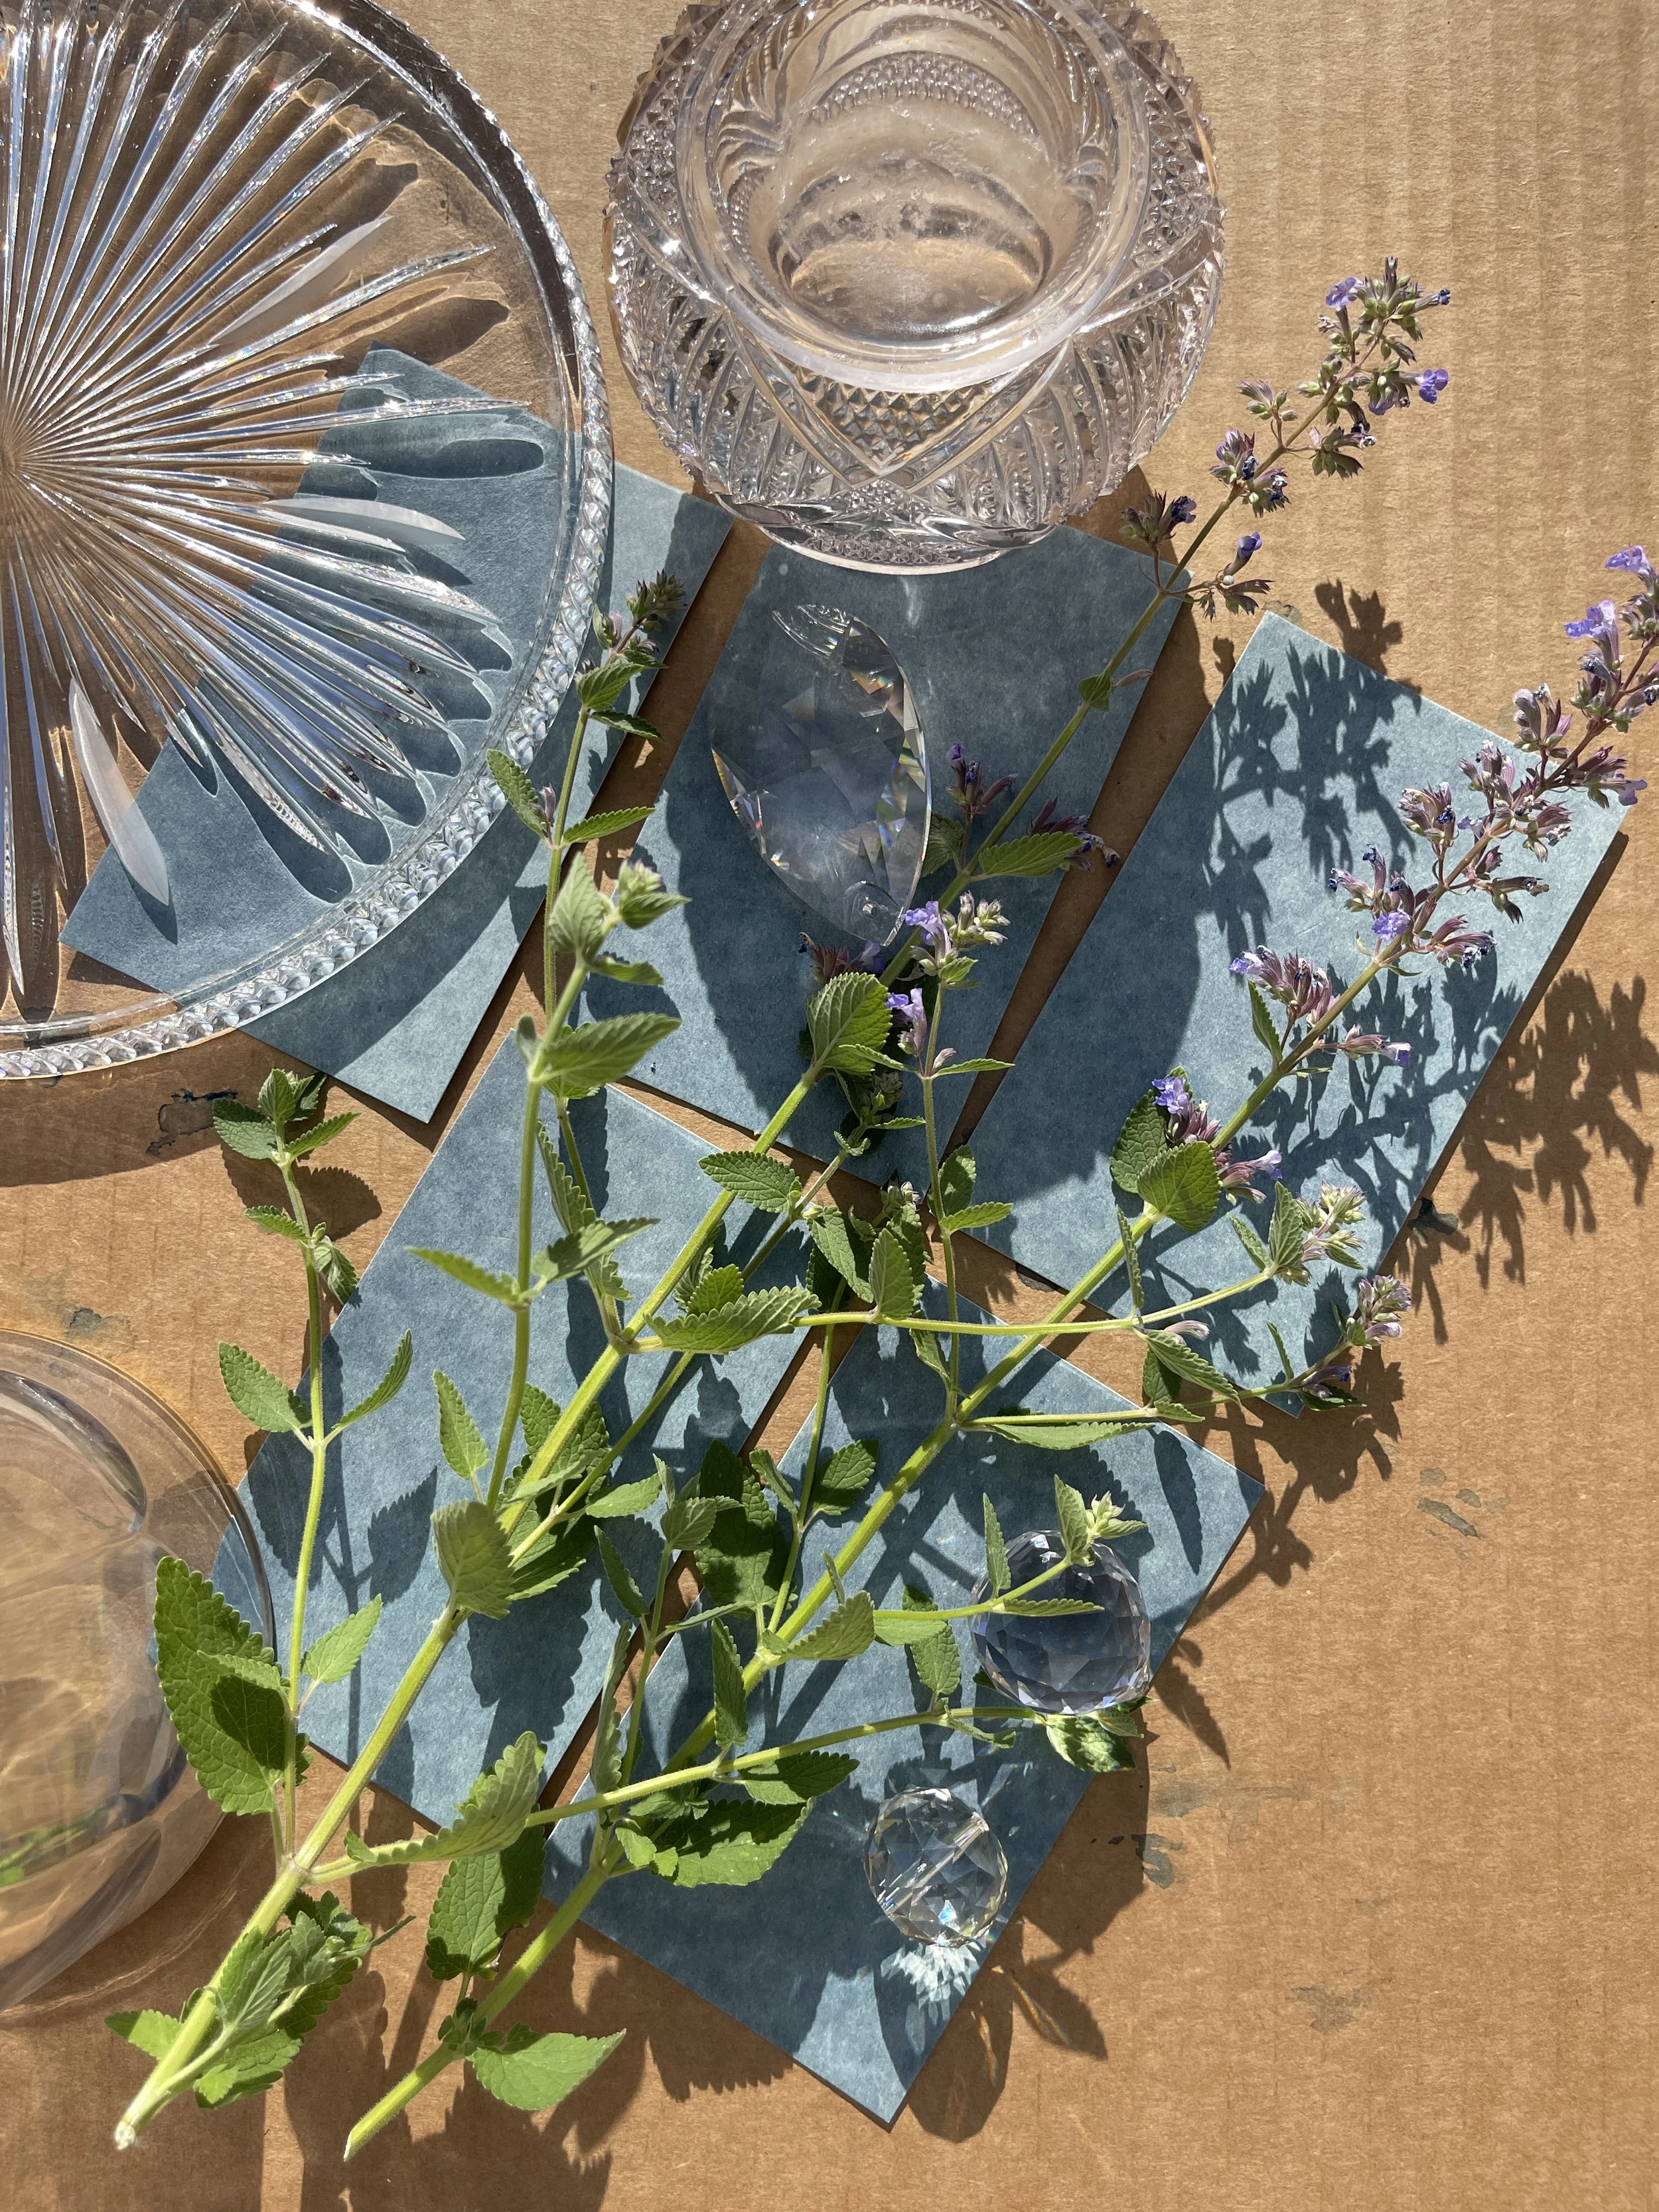
lace, sheer textiles
favorite jewelry
kitchen untensils
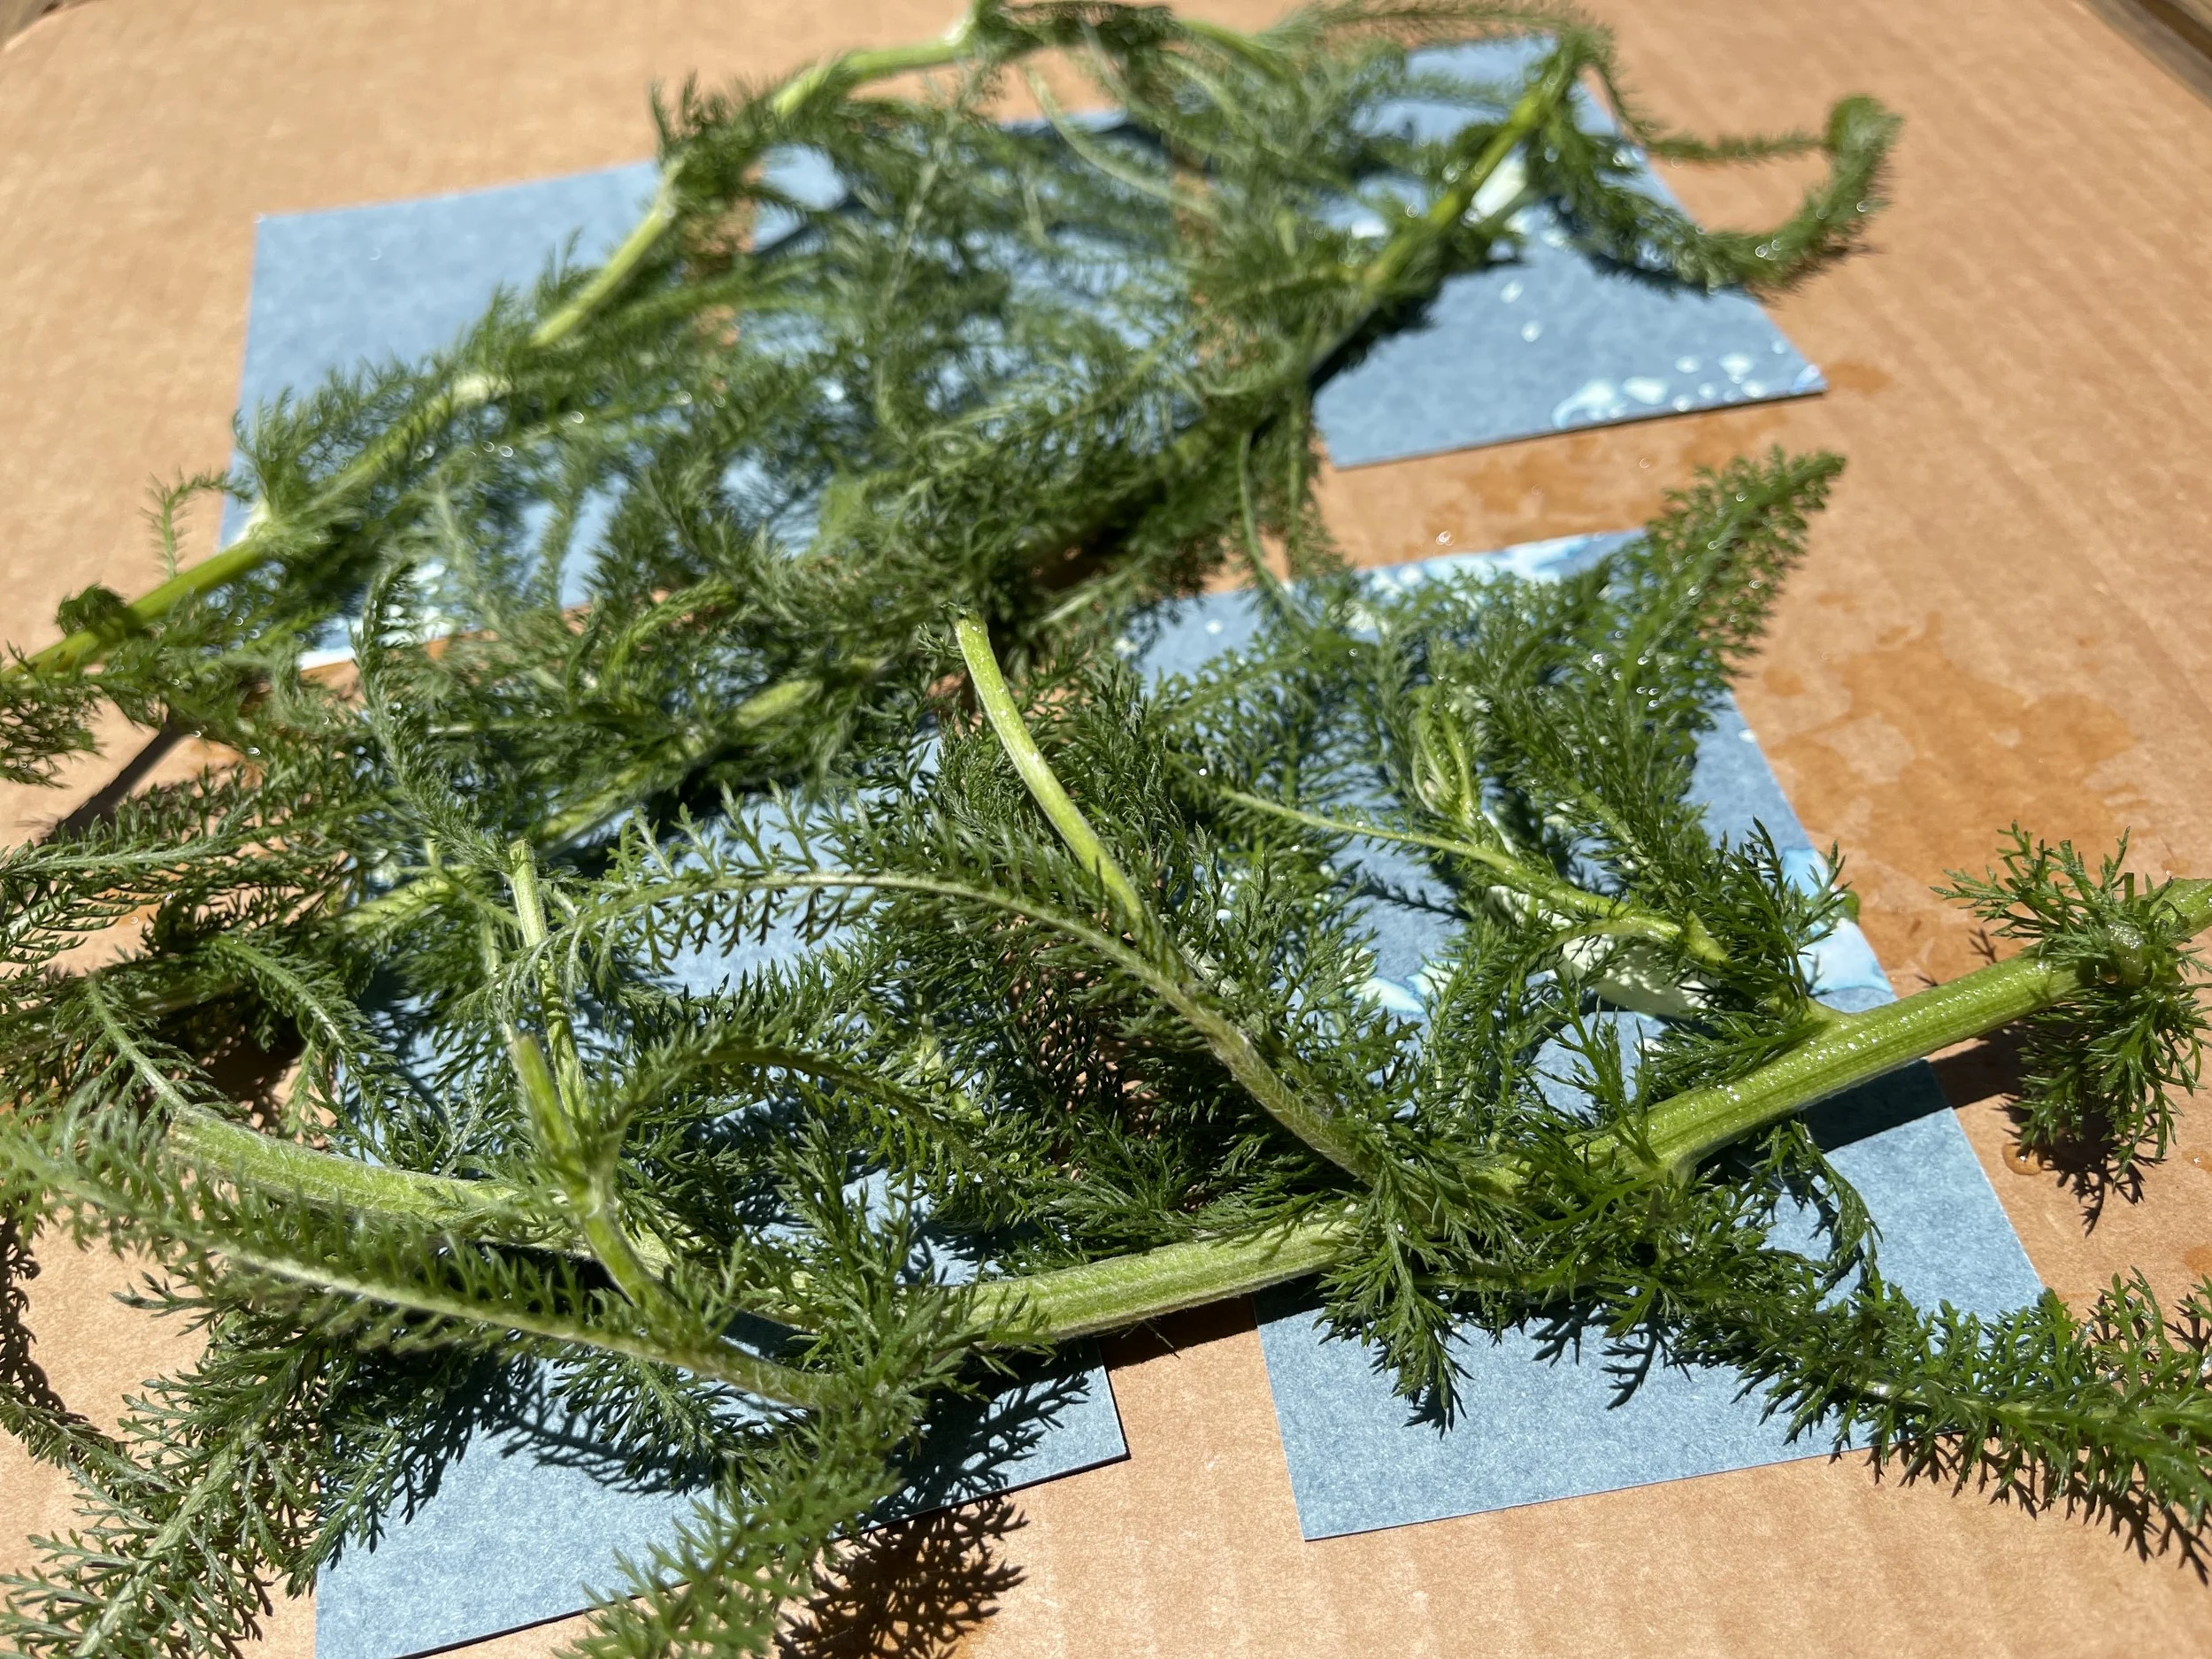
plant matter such as flowers or leaves
any objects that are interesting to you
to have on hand:
paper weights or similar
hydrogen peroxide
bath towel
Setting Up Your “Studio” for Cyanotype
clear a table or an area on the floor and spread a bath towel onto it (this is where your cyanotypes will lay to dry)
fill a sink or a large bowl with water, hydrogen peroxide to the side if desired
keep light sensitive paper in bag until ready to expose


Step Two: Visioning + Composing
Think about the objects you have chosen to sun print. What is the feeling or message you want to convey? Are there people, pets or plants you want to honor? Do you have a special piece of lace or textile that your grandmother made that you would like to feature?
Choose the objects you would like to sun print. Are they flat? 3D? Think about the visual positive and negative spaces of the objects. Arrange your objects on a piece of paper or cardboard that is the same size as your cyanotype paper. Take your time here because the way you arrange objects on the cyanotype paper will determine the composition of your final image. That all said, remember to enjoy the process as an art experiment and don’t worry about the outcome. The more you sun print the more familiar and comfortable you will become with composition.

Step three: Exposing + Developing
Now you are ready to make a sun print! Take out a sheet of light sensitive cyanotype paper from the package and arrange your composition from the step two onto the paper. Its ok if its not exactly how you arranged it before. Make sure there are spaces between objects if they are solid so the sunlight can reach the paper.
Lay your cyanotype paper with composed objects on top in the sun for 10-15 minutes depending on the intensity of the sun, the time of day and the time of year. We can talk about this in any of our live Art Magic in the Making sessions.
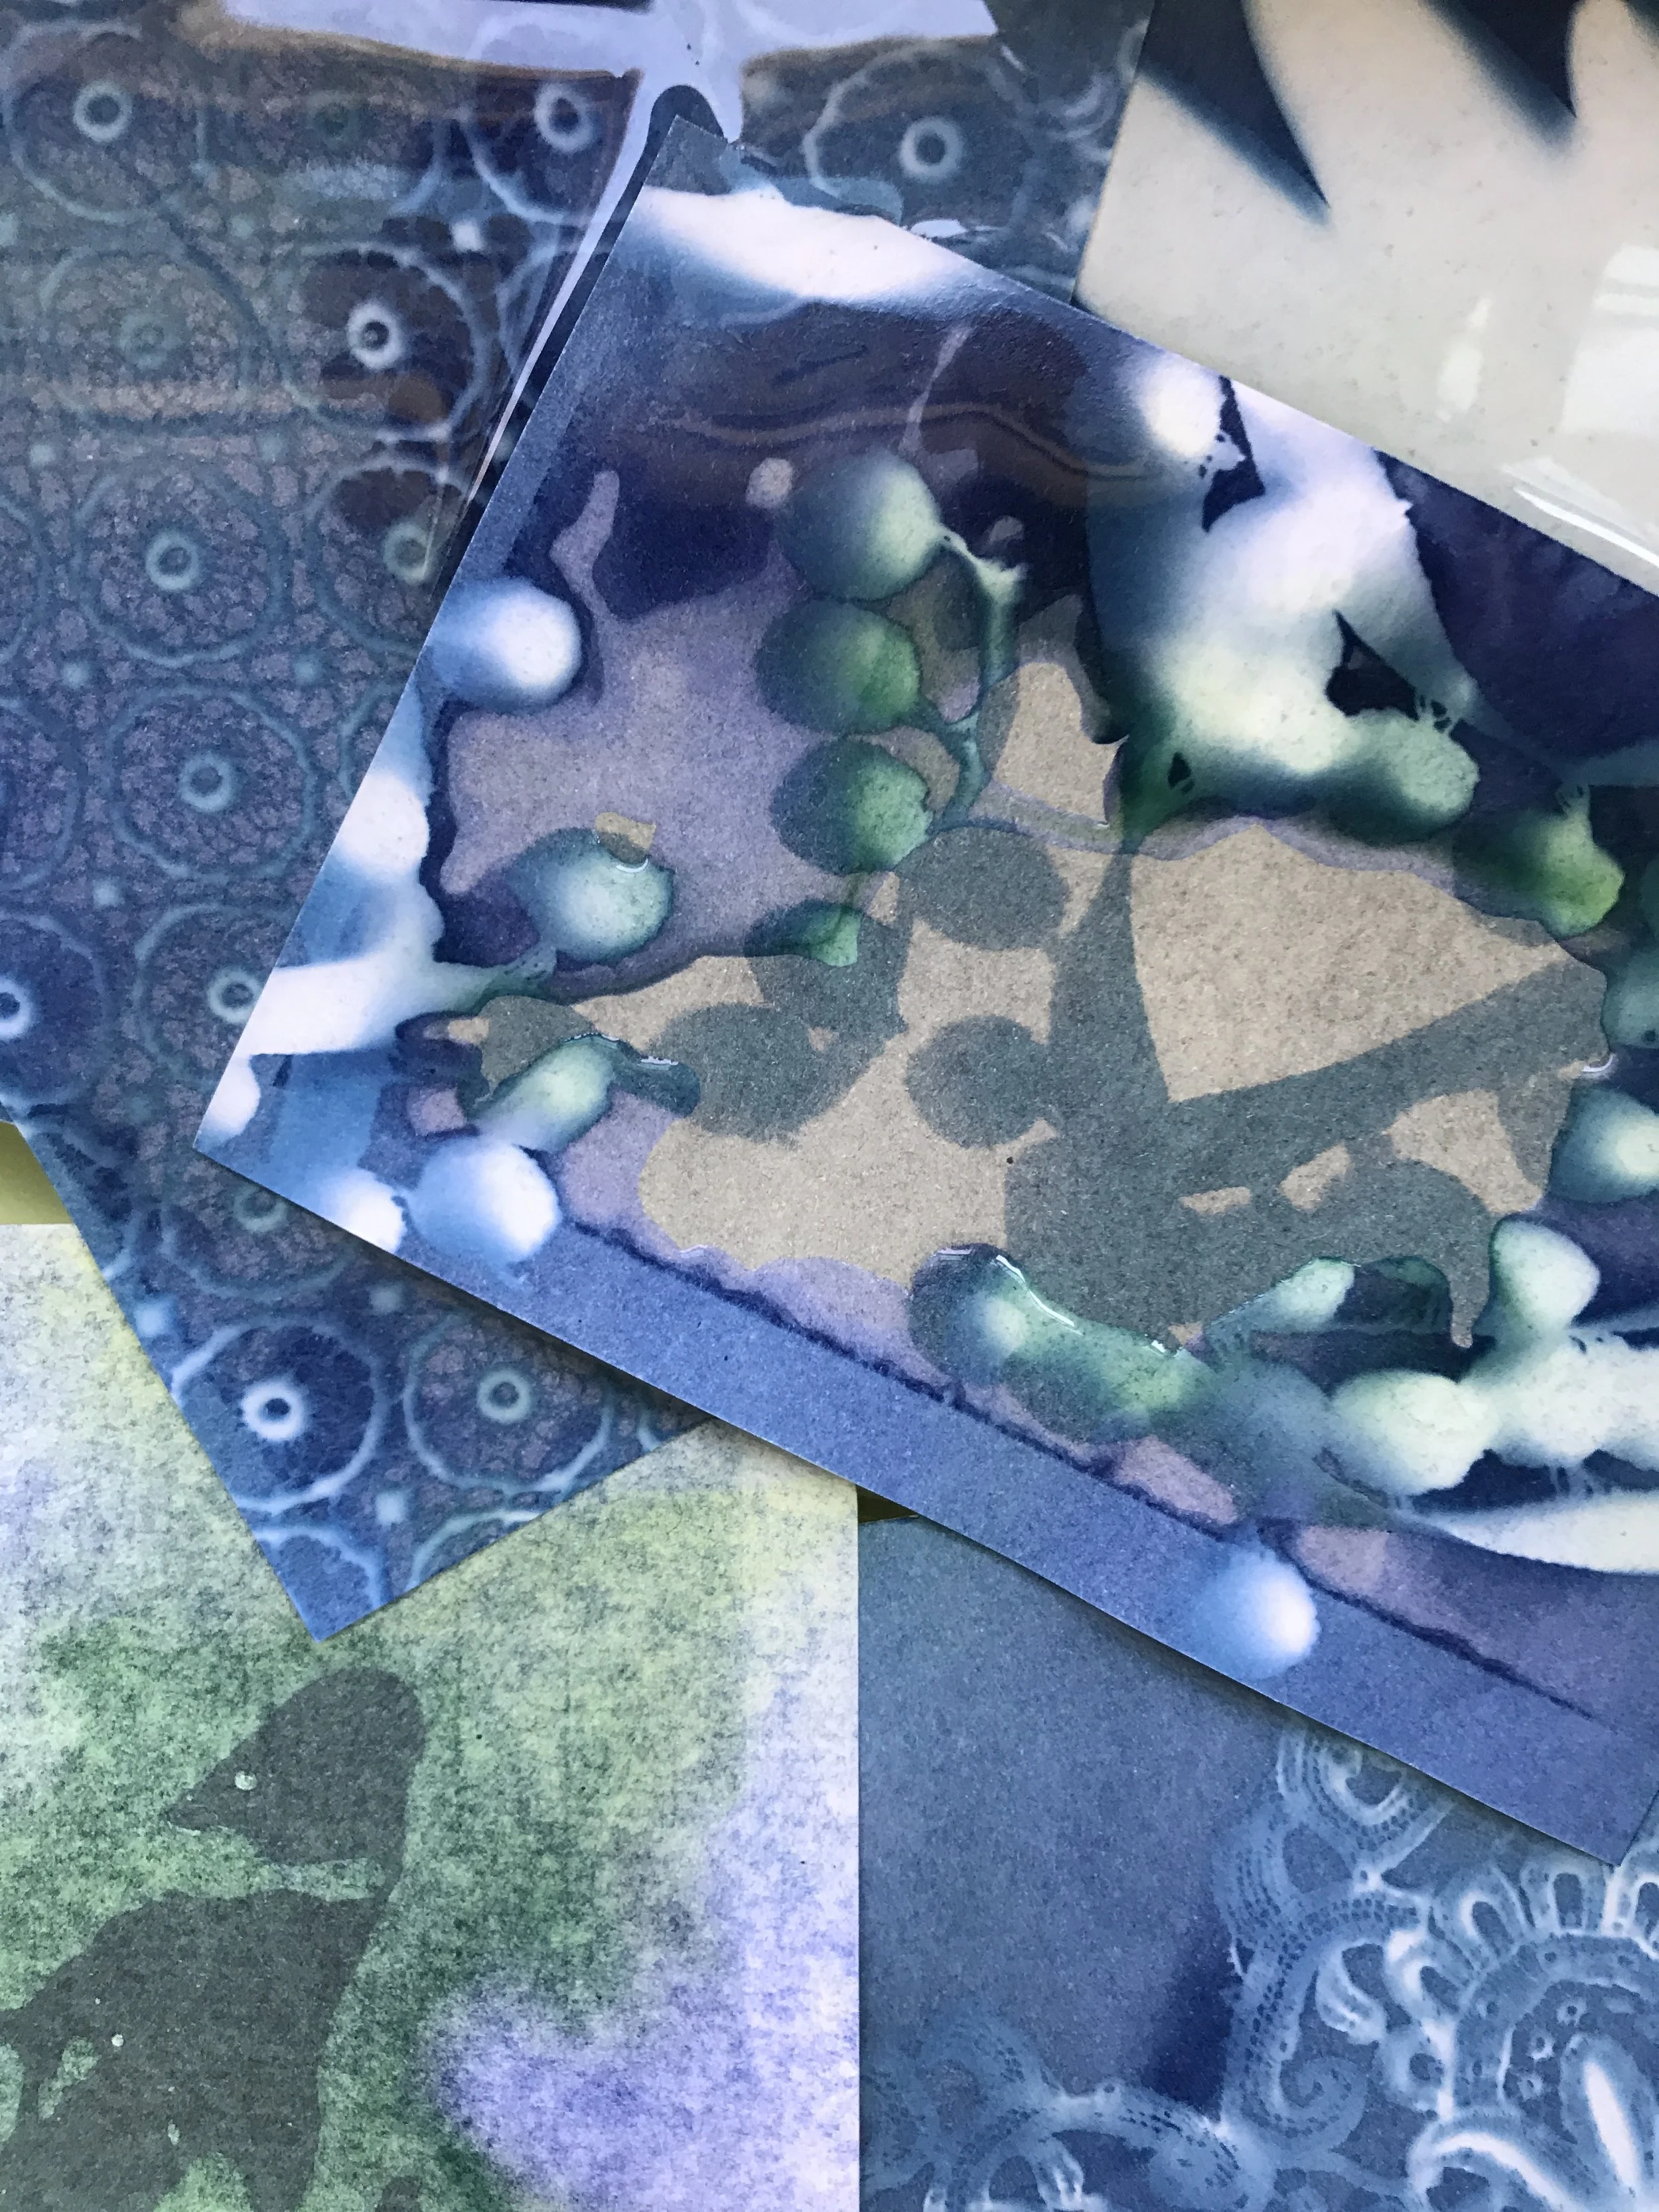
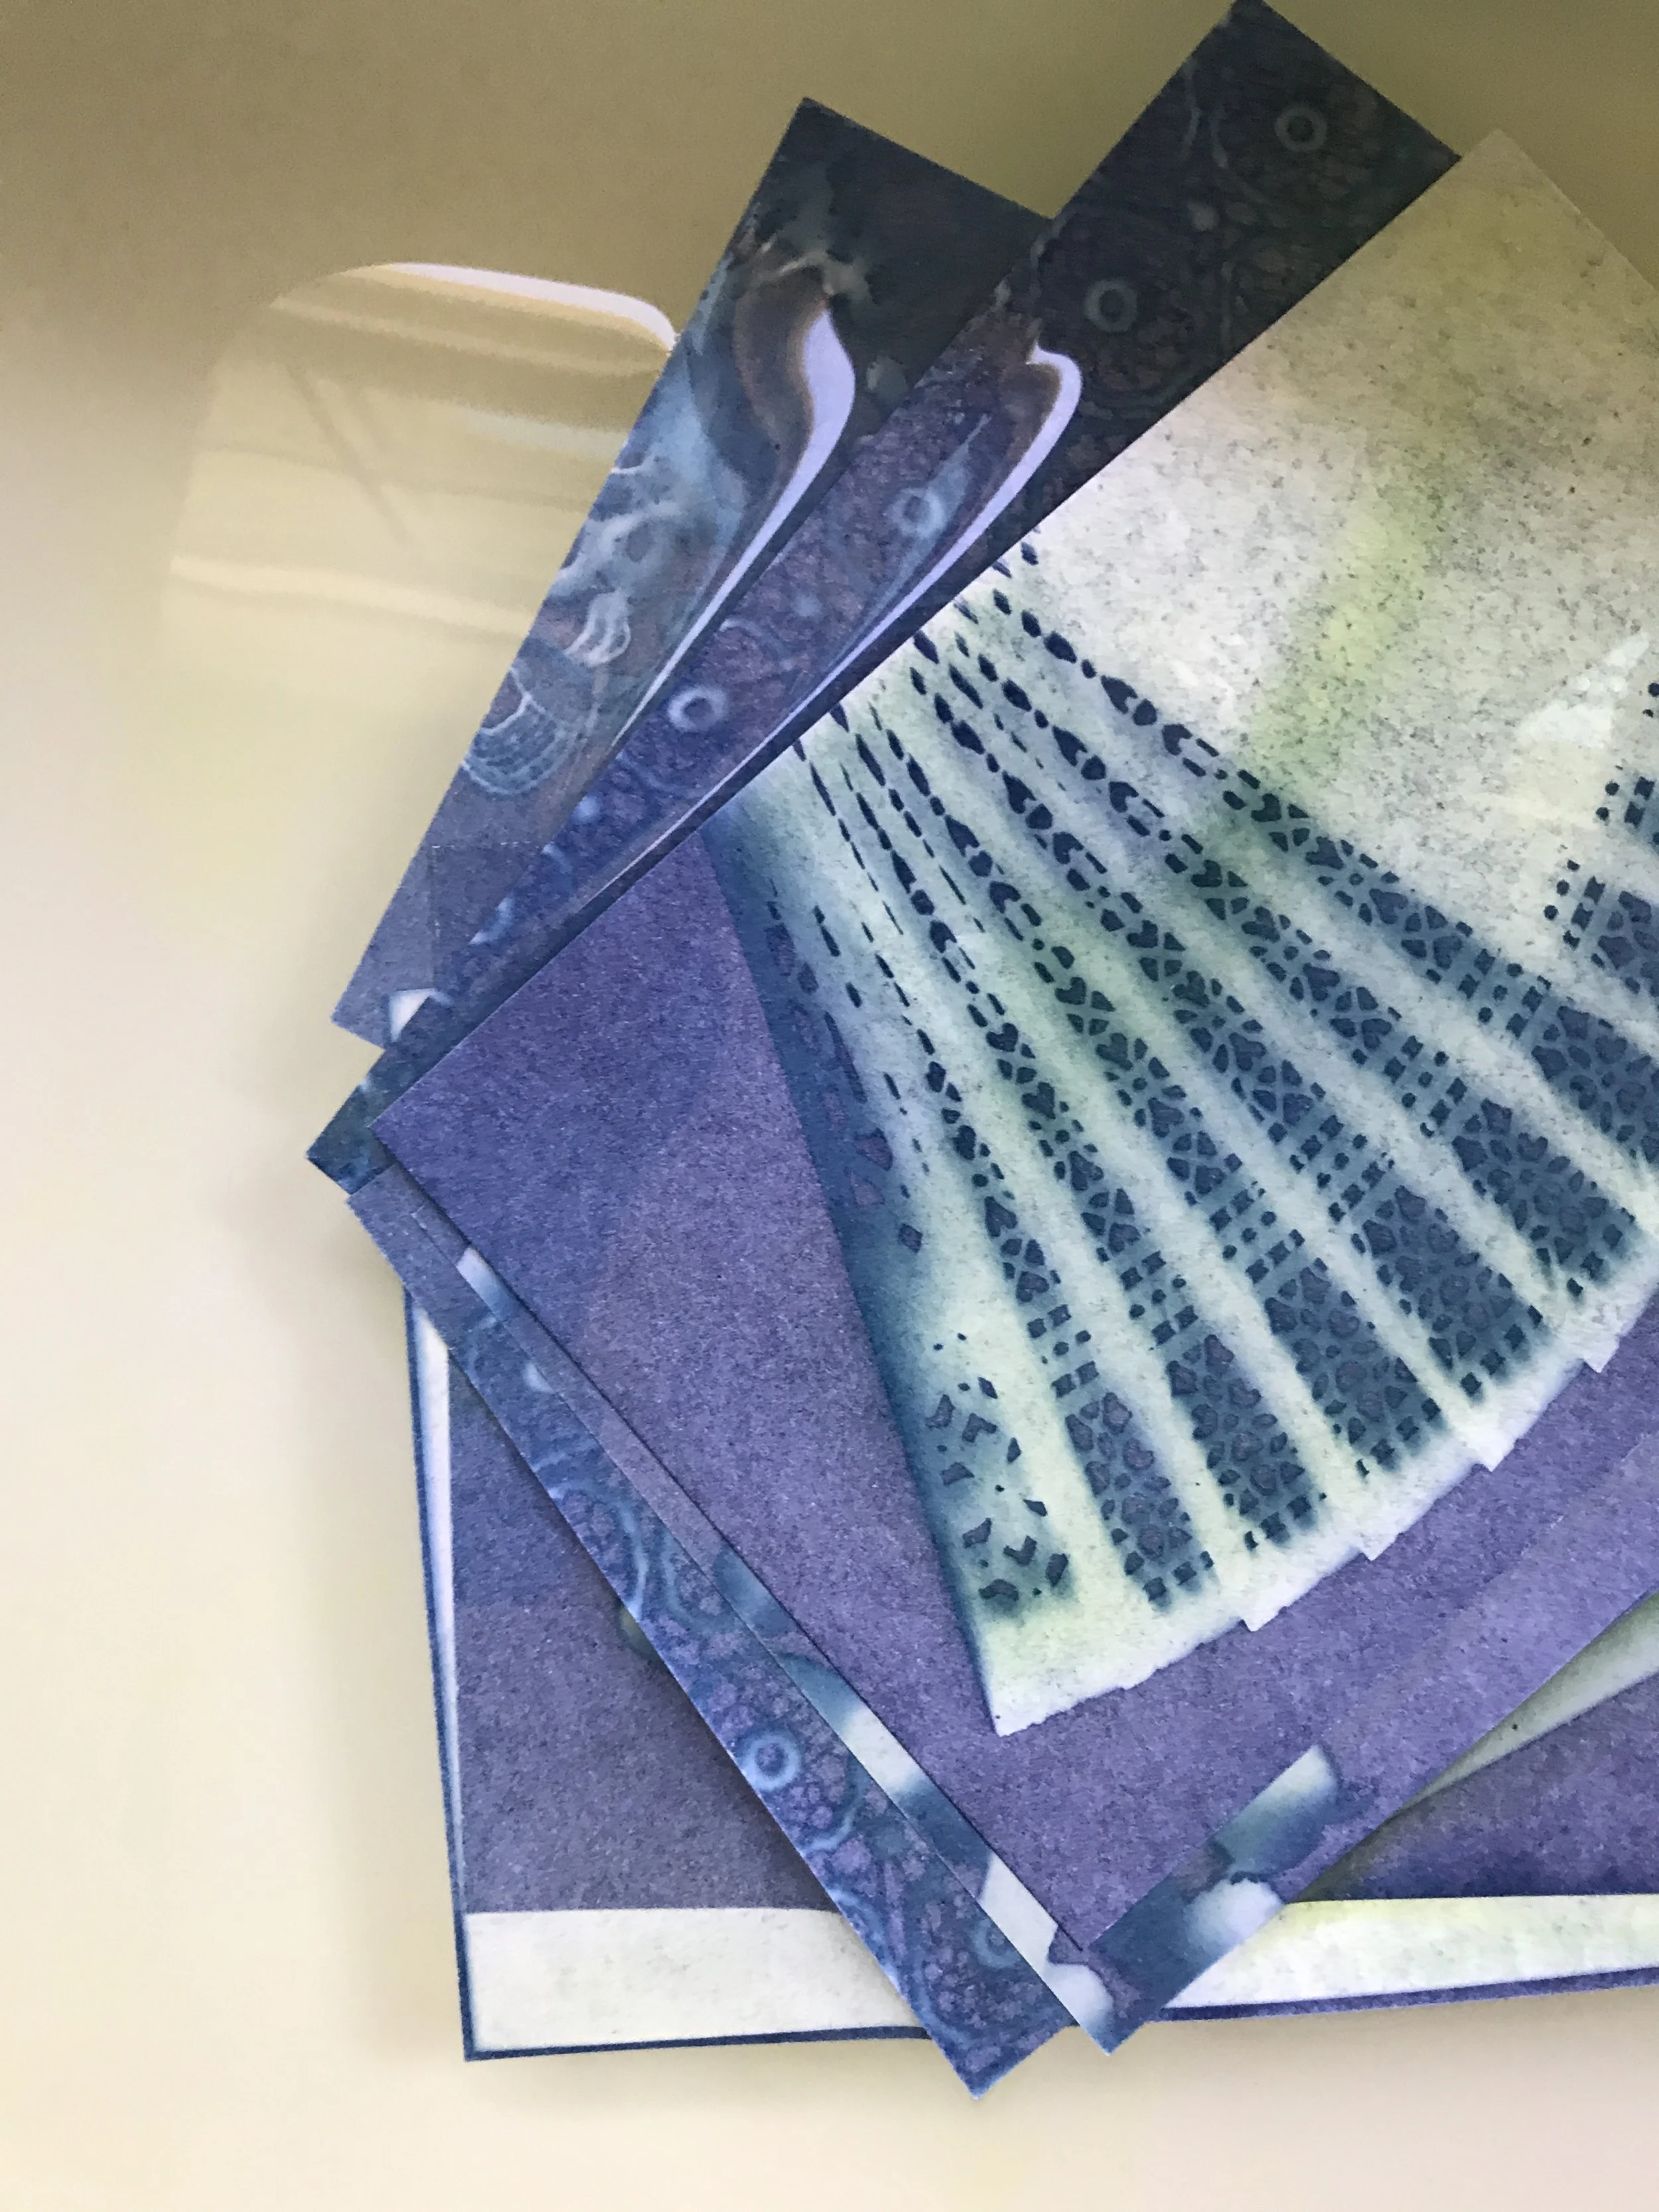
Place your sun print in the bowl or sink of water that acts as a developer that you prepared and see the magic unfold! Rinse print until the water runs clear being careful not to “handle” the print too much to prevent finger prints or smudges. After rinsing lay print flat on towel on a table or floor to dry. As time goes by you will notice that your print gets darker and more defined. A way to further expose your print is to lightly spray it with peroxide. What do you see? I would love if you would share your Art Magic on social media with hashtag #ArtMagicWithMiranda!
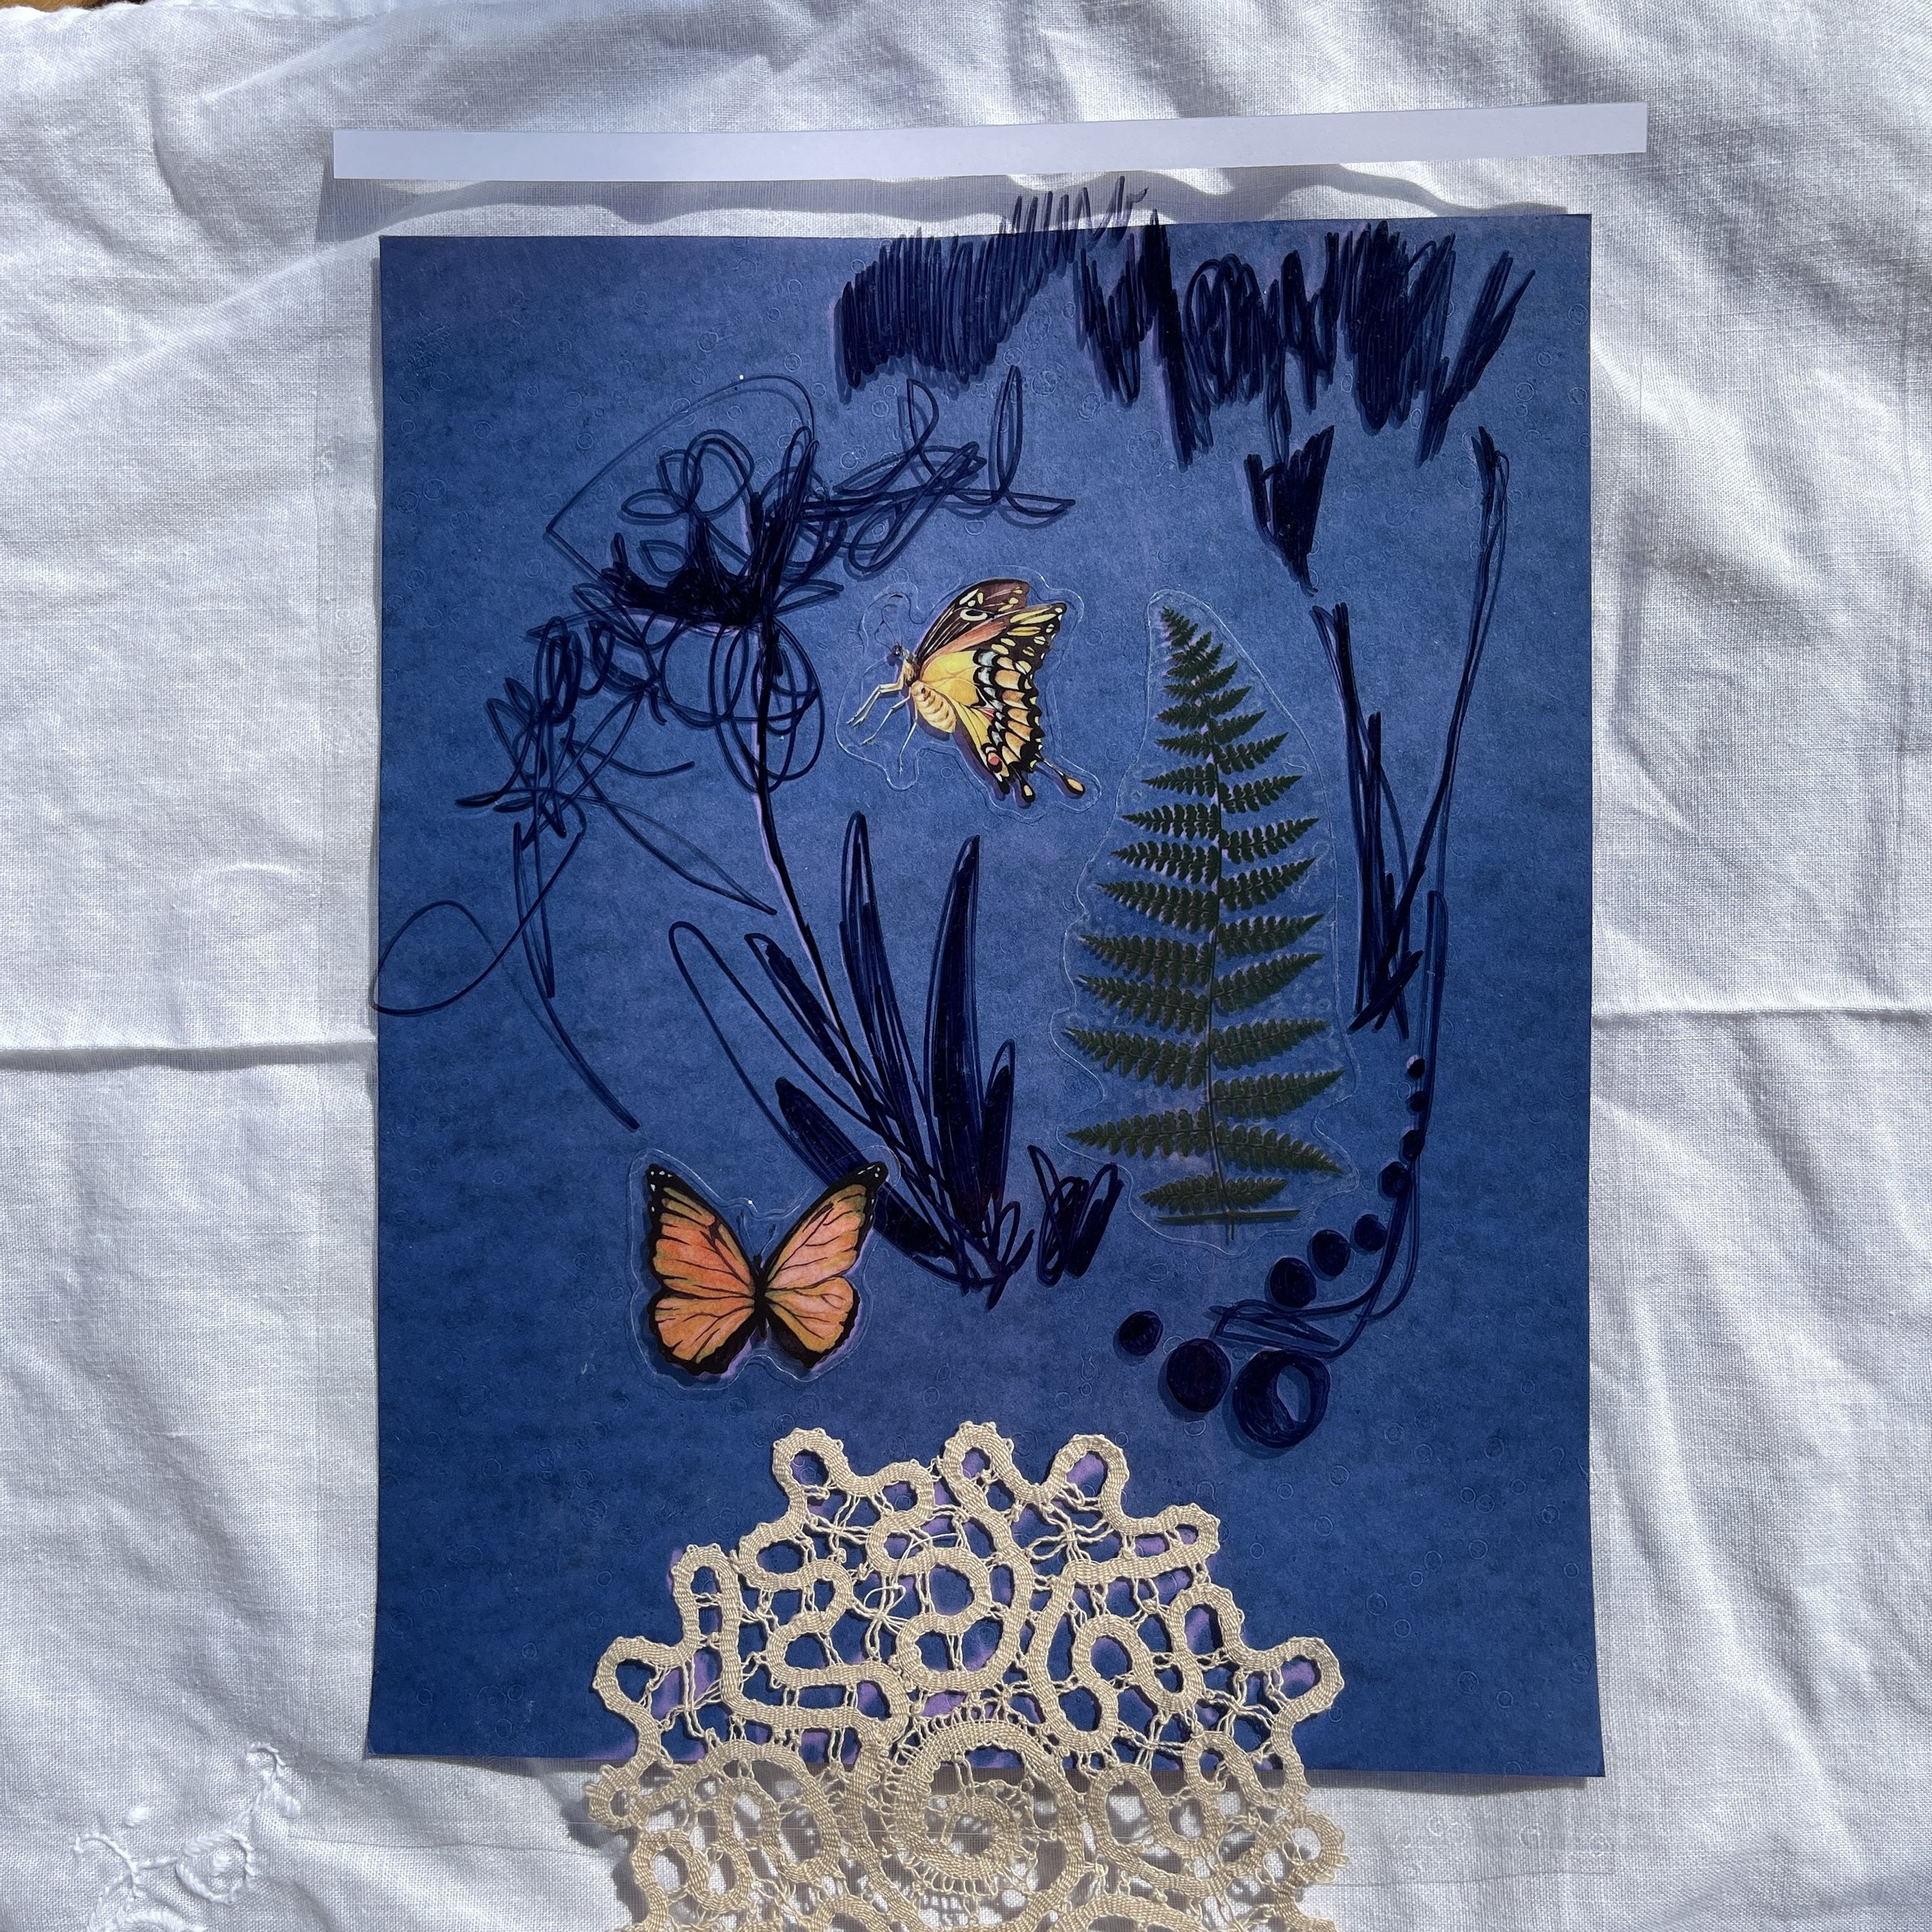
Here I have used transparent stickers on transparency paper (both included in your art magic kit) along with a sharpie marker and a vintage lace coaster to create this sun print. You may note that cyanotype paper does come in different colors!

